
Visualization
BobSim's first visualization path is the app preview in Setup. Use it while editing architecture, hardpoints, mass properties, tires, aero, suspension, and powertrain inputs.
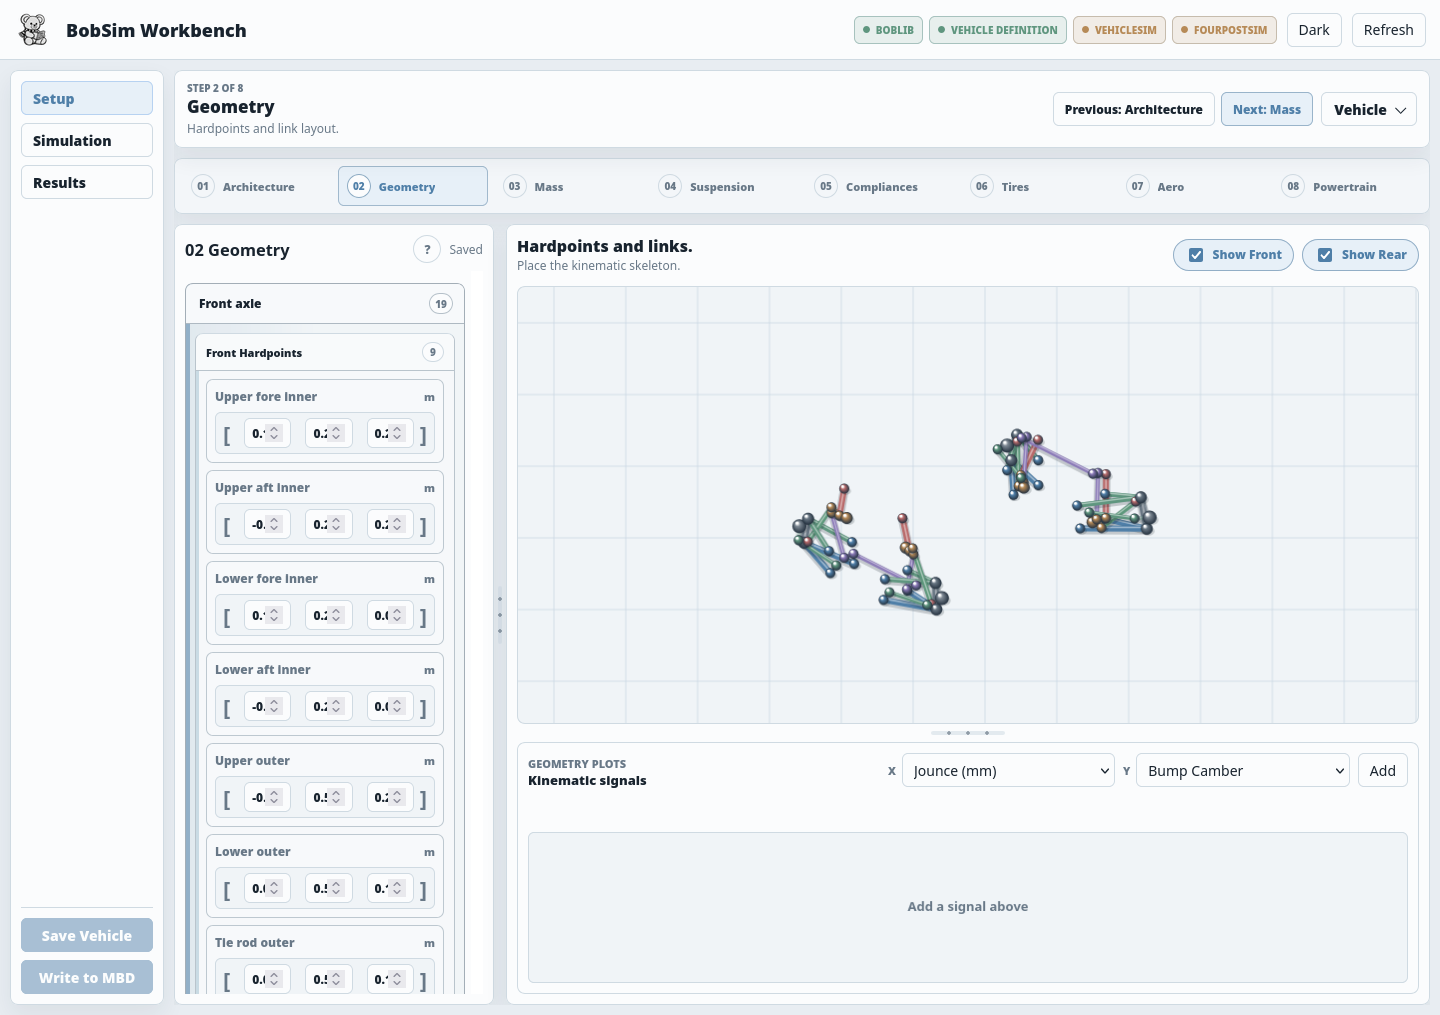
The kinematic plots cover bump, roll, and steer sweeps. Steer plots are front axle only. See Overlay Report for the sweep ranges.
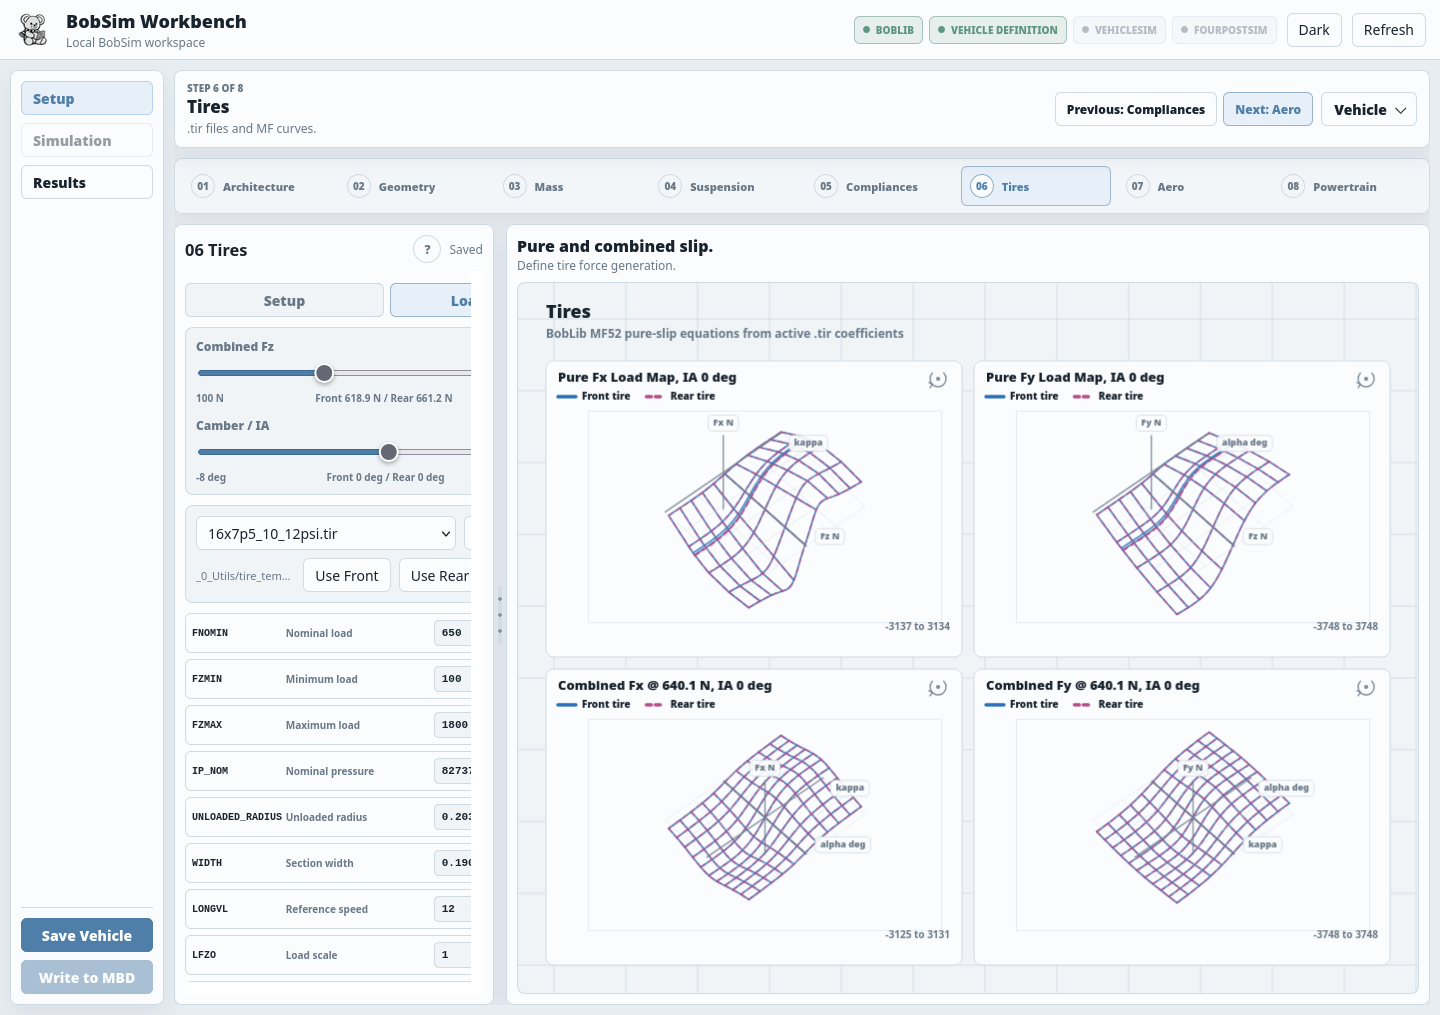
Tire setup has a dedicated preview path for .tir data. The Load maps tab renders pure longitudinal, pure lateral, combined longitudinal, and combined lateral tire force surfaces from the active tire evaluation.
Use OMEdit when you want to inspect the integrated Modelica diagrams, view Modelica animation, and verify vehicle motion through the standard Modelica toolchain.
VisualSim still exists under _1_VisualSim/, but it is not an active primary workflow right now. Treat it as experimental/offline tooling for rendering geometry animations from simulation signal arrays, not as the main public visualization path.
The visualization code lives under:
_1_VisualSim/VisualSim Layout
| Path | Role |
|---|---|
_1_VisualSim/run_visual.py | MP4 rendering entry point |
_1_VisualSim/viewer.py | Interactive/viewer support code |
_1_VisualSim/sample_transient_visual.npz | Example transient visual signal sample |
_1_VisualSim/visual_templates/steady_state_eval_visual.yml | SteadyStateEval visualization template |
_1_VisualSim/visual_templates/transient_eval_visual.yml | TransientEval visualization template |
_1_VisualSim/visual_templates/fr_knc_visual.yml | Front K&C visualization template |
_1_VisualSim/visual_templates/rr_knc_visual.yml | Rear K&C visualization template |
_1_VisualSim/results/ | Rendered video outputs |
The renderer uses PyVista/VTK for the 3D scene, Matplotlib/Pillow/ImageIO for frame handling, and YAML templates for geometry, styling, camera, and signal mapping.
For the current core visualization workflow, see the BobLib OMEdit Workflow.
Rendering Command
General form:
python _1_VisualSim/run_visual.py <visual-template.yml> <signals.npz> --mp4 <output.mp4>Transient example:
python _1_VisualSim/run_visual.py \
  _1_VisualSim/visual_templates/transient_eval_visual.yml \
  _1_VisualSim/sample_transient_visual.npz \
  --mp4 _1_VisualSim/results/transient_eval_test.mp4
Steady-state template example from the checked-in template comments:
python _1_VisualSim/run_visual.py \
  _1_VisualSim/visual_templates/steady_state_eval_visual.yml \
  ./_3_StandardSim/SteadyStateEval/results/raw_results/run_0/visual_signals.npz \
  --mp4 ./_1_VisualSim/results/steady_state_eval_test.mp4
Template Anatomy
Visualization templates are declarative. They describe how arrays from the .npz file become a 3D vehicle view.
Important sections:
| Section | Purpose |
|---|---|
style.joints | Joint radius and color |
style.links.default | Default link radius and color |
style.links.groups | Per-link-group styling |
geometry.points | Named points built from three signal columns |
geometry.links | Cylinders drawn between named points |
geometry.vectors | Optional arrows from origins and direction signals |
camera | Camera attachment, forward pair, offsets, and framing |
render | Optional display controls such as signal overlays and input stride |
Point definitions map names to three signal arrays:
geometry:
  points:
    flWheelCenter:
      - signals/visfrontaxleleftwheelcenter1
      - signals/visfrontaxleleftwheelcenter2
      - signals/visfrontaxleleftwheelcenter3
Link definitions connect named points:
geometry:
  links:
    upper:
      - [flUpperFore_i, flUpper_o]
      - [flUpperAft_i, flUpper_o]
The template is intentionally data-driven. Most visualization changes should be possible without editing run_visual.py.
Signal Files
VisualSim expects a .npz file with:
time- named signal arrays matching the template
- visual point coordinates exported as separate x/y/z arrays
An example transient sample path is:
_1_VisualSim/sample_transient_visual.npzGenerated visual arrays usually come from Modelica visual output signals. If a template key is missing from the .npz, rendering fails early because a point cannot be assembled.
Camera Behavior
The renderer can attach the camera to a moving point. When the template defines a forward_pair, the camera computes a yaw-only vehicle frame from those two points and applies body-frame offsets.
This keeps the view attached to the vehicle without inheriting roll/pitch in a way that makes debugging uncomfortable.
Output Control
Use render.input_stride in the template to skip source samples before rendering. This is useful when a simulation exports dense output and the MP4 does not need every point.
Example:
render:
  input_stride: 4
Keep stride low when debugging fast suspension or tire motion. Increase it for quick presentation videos.
Troubleshooting
If rendering fails immediately, check:
- the
.npzpath exists - every template signal key exists in the
.npz timeexists in the.npz- PyVista, VTK, ImageIO, and FFmpeg dependencies are installed
If the video is blank or poorly framed:
- check the camera
attach_topoint - verify the
forward_pairpoints move with the vehicle - reduce
input_stride - confirm coordinates are in the expected vehicle/world frame
If the render is slow:
- increase
render.input_stride - reduce the number of rendered links/vectors
- render a shorter source signal window upstream